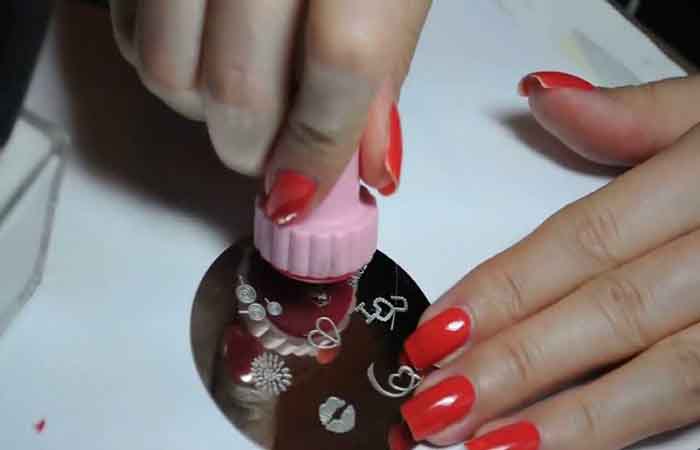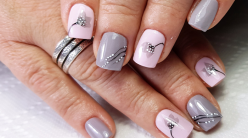
By following the steps one by one and with a little practice, you can achieve beautiful designs on your nails. In this guide, the nail expert Maryton will show you the steps to nail art stamping. Just keep reading!
Here is a step-by-step guide to help you achieve nail art stamping:
Prep your nails: Follow the prep tips to clean, trim, file and push back your cuticles. Then apply a base coat to protect your nails.
Choose your design: Select a stamping plate with the design of your choice. Plates often have several different designs, so choose the one that suits your style and the occasion.
Apply the stamping polish: Take the stamping polish in the desired color and apply a small amount of the polish to the design on the plate. Then use the scraper to remove the excess polish, making sure to only leave the polish in the hollows of the design.
Transfer the design to the stamper: Gently press the silicone stamper onto the design to transfer the polish to the stamper. Make sure to pick up the design well so that it is clean and precise.
Apply the design to the nail: Carefully align the stamper’s design with your nail and gently press down to transfer the polish to the nail. Use a quick, gentle motion to prevent the design from smudging or shifting.
Set the design with a top coat: Once the design is transferred to the nail, wait a few moments for it to dry slightly, then apply a layer of top coat to seal the design and give it a smooth, shiny finish.
Clean up the edges: Use a cotton swab dipped in nail polish remover to clean up the edges of your nails and remove any excess polish.
OK! You already know the steps of nail art stamping. In addition, you can also invest in some professional manicure kits to pamper your nails. I hope this article can help you.
Read also: The different possible causes behind curved nails


You must log in to post a comment.